The purpose of this module was to deepen our knowledge in a specified field. I was instantly pulled toward 3D environments. The roles that I am looking for in the industry would be either 3D Environment artist or Environment TD, meaning aiming to create CG environments was a perfect decision to make for these roles.
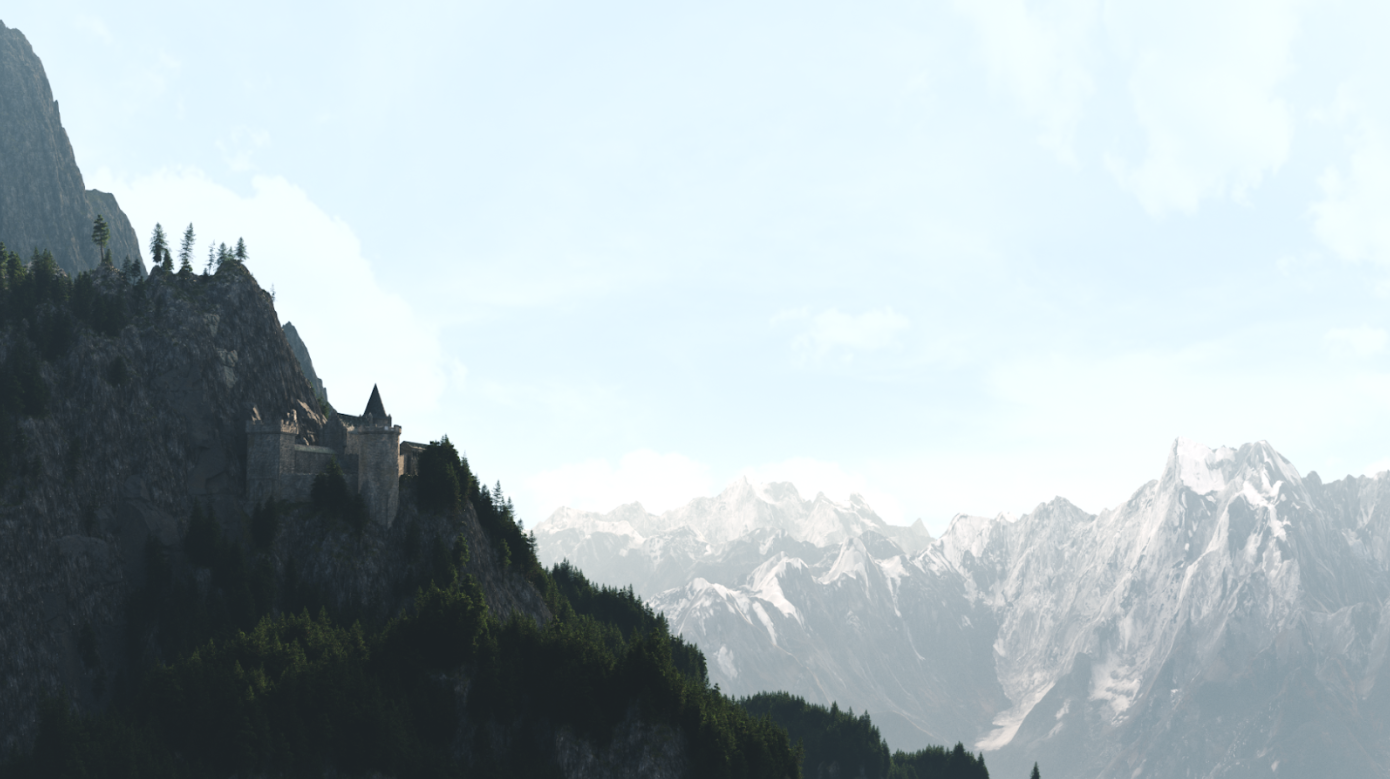
We based our shot around a noble walking through a mountainous castle, to deliver a scroll. We planned on creating 4 shots altogether, to deliver the story to the viewer. This would include an establishing shot, which would be created completely in CG. However, due to time constraints and difficulties, we ended up having to drop three of our shots, unfortunately including the establishing shot. We made sure that everything during pre-production was correctly and accurately planned out. For example, we made sure our lighting on set would match what we were going to create in 3D. We also used VES sheets to capture all the camera, lighting, and other data, which would all help us when working on our CG software.
Knowing that we had three interior shots that would all be located in the same hallway, I proceeded to add all of the tracked cameras into the same scene. This meant that any changes in lighting or assets would affect all three shots. In the end, we decided to only use one of the shots due to time constraints and keying. However, if we were to use all three, this method would have made it very simple to create three shots in one go.
Creating proxy geometry early, to match the shadows we had created in the plate was a good decision as it helped us picture what the composition of the shot would look like and how much light would enter the scene.
Maya > Photogrammetry and Lidar
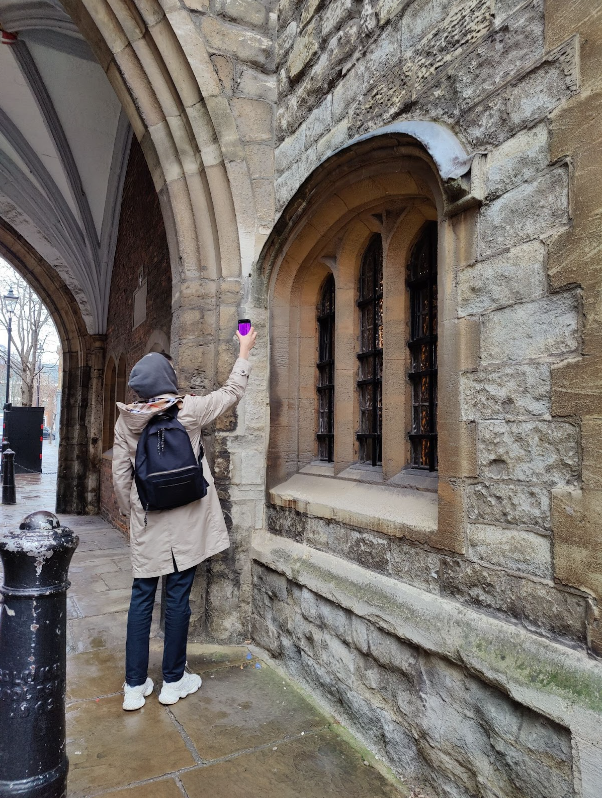
One other field I was very keen on during this project was Photogrammetry and Lidar scanning. I wanted to expand my knowledge of capturing and processing scans. We spent many days in London scanning assets that we could use in our shot, testing with different cameras, settings, objects, and software. We both initially went out to scan some assets with an iPhone 12, which supports Lidar scanning. However, when reviewing the assets, we realised that they were very low quality which made me rethink and research other methods of scanning assets and importing them into 3D. I went out again, capturing data with my mobile phone camera as well as a DSLR camera, which gave much better results. I then used this data and processed it so that it was ready for our 3D scene. The whole process took some time to figure out what the most practical method would be but doing this has taught me a lot about photogrammetry, lidar, and data processing.
Maya > CG Environment
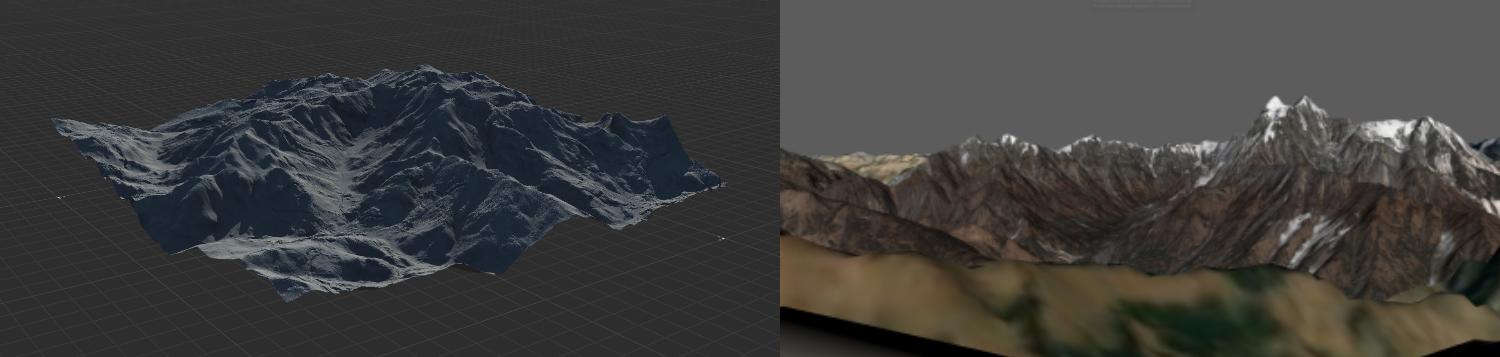
To create the environment, we initially tested generating it in Houdini or Gaea. We jumped between the two software a lot throughout the whole process to finetune our terrain. Many tests were done as a practice to figure out which direction we wanted to go with creating the terrain.
The method we decided on, in the end, was to take an extremely high-resolution image of a chosen set of mountains in the Himalayas. We chose the Himalayas because it meant that we would have a style that we could stick with throughout the project. These maps were de-lit, sharpened, and cleaned up before exporting as a diffuse map. We then sourced height maps for our specified area in the Himalayas which we cleaned up and then exported into Gaea to do further processing on the terrain. This included adding lost detail, fixing artifacts, and much more. I then imported this new flow map into Houdini, where I carried out further adjustments and processing to transfer detail from other lidar scanned height maps onto my 3D environment.
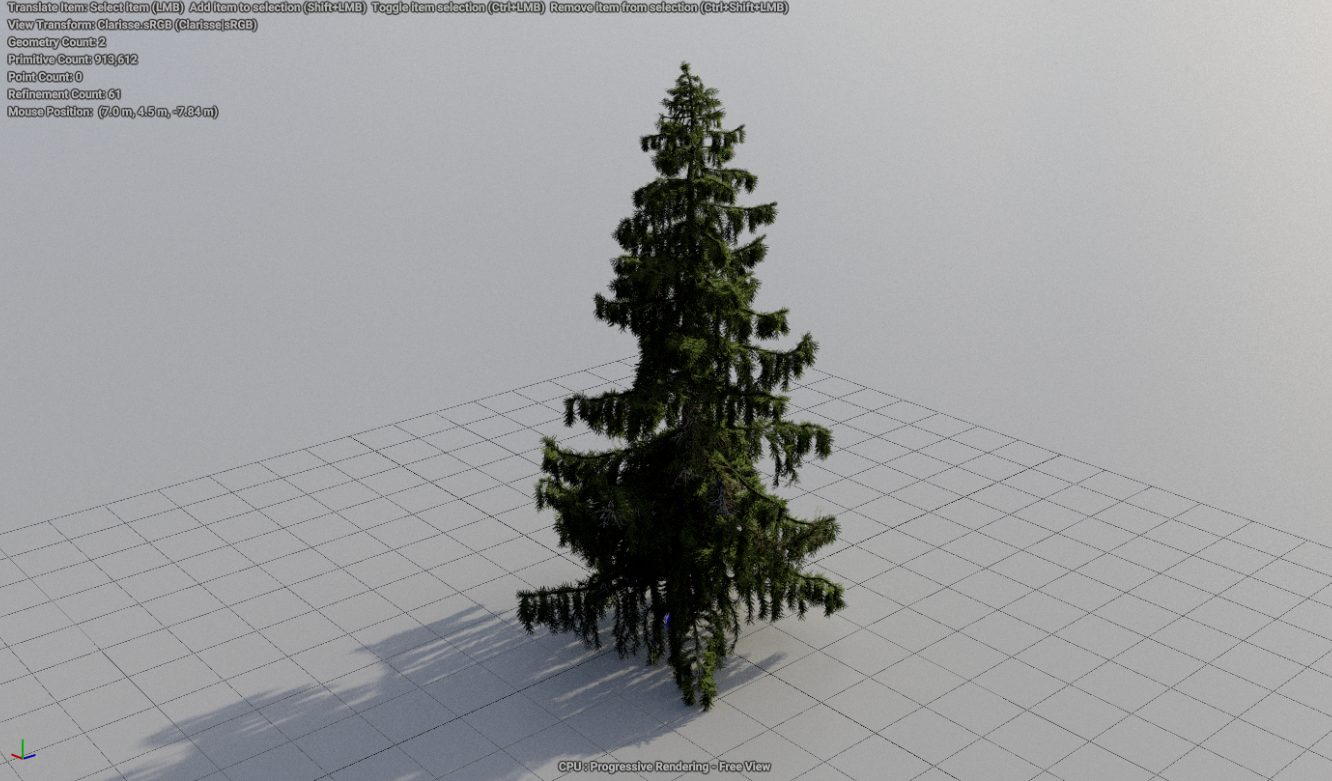
For the heightfield for the establishing shot, we used a similar process to apply details to the mesh. However, texturing was fully procedural in Clarisse. This was a process I wanted to use because I wanted to expand my understanding of using utility maps to procedurally texture a terrain.